I had the amazing opportunity to attend New York Fashion Week two weeks ago and I couldn't have been more excited. I was invited to go backstage with Costello Taliapietra and see the makeup and hair trends come to life right before my eyes. I was joined by my lovely blogger dolls, Christine from The Tiny Tierant & Ashley from Ashley4Emergy.
If you've never heard of Costello Taliapietra, you have to check them out. The brand is sold at Barneys New York and specialty boutiques worldwide. Their designs are stunning and extremely wearable (which is always a plus!) In their Spring 2012 collection, we saw long sleeves, gorgeous plunging necklines, and lots of prints. Although the collection was for Spring, it actually reminded me of a gorgeous fall day full of leaves and the perfect wind. The colors seen were soft browns, coppers, rusted pinks, blues, greens and mauve.
Backstage was hectic and exciting, we were immediately introduced to the fantastic Deborah Lippman, who explained the inspiration for the nail colors chosen. Models wore one coat of Waking Up In Vegas, which is described as a "putty-liscious gray (creme)" and Fashion on top, which is described as "not so typical taupe shade."
The lovely Deborah Lippman's hand
Below Deborah talks about her inspiration for choosing these shades:
Video courtesy of Ashley from Ashley4Emergy
For the models makeup, Lisa Butler, took inspiration for the 1930s. She was inspired by the use of color and how often times back in the day only one color was used to complete an entire look. The color used was MAC's Burnt Coral for the eyes, cheeks and lips. She said this was easy to wear and best on redheads or blonds. The look was very modern with an old-style feel. I loved the use of one color for all parts of the face. Often times as makeup artists, we become so accustomed to using many colors that we forgot that sometimes one is all you need. It reminds me of being younger and seeing women use their lipsticks (or rouge if you will) on their cheeks. Just the other day, I used my blush on my eyes, so it's definitely possible and requires a little thinking outside the box. Lisa's suggestion was to find your color. Everyone's color is not going to be burnt coral, but once you find your color, this look is achievable. Another interesting thing I noticed were the eyebrows were left untouched leaving the focus onto the eyeshadow color. Often times in fashion, the look desired is bold, dramatic eyebrows.
Lisa working her magic
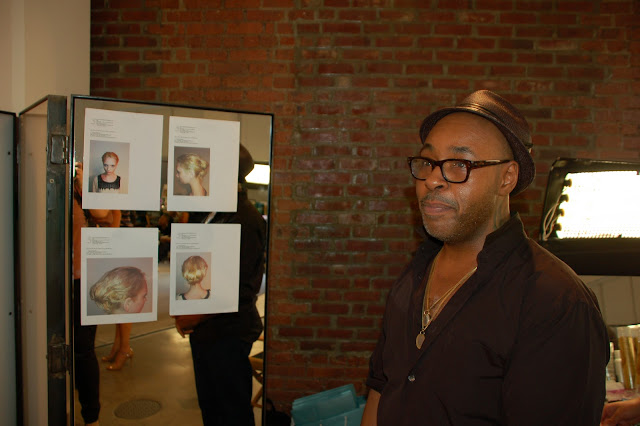
I met a super sweet & talented makeup artist, Legend, who had the coolest brush holder. He was definitely "armed with his weapons."
The makeup came out stunning. It really made a impact on the runaway. After makeup was, of course, hair. Redken hair stylist, Nelson Vercher, was inspired by Asian rainforest. He wanted a style that was elegant yet formal. All products used to create the look were from Redken. I loved that the look was wearable. I'm a fan of the up, kind of messy look anyway.
Here are the complete steps to create this look:
1) Start off with wet hair. You then layer three different Redken products. The order in which you apply the products is extremely important, as you want to create the effect of humidity, but in a more glamorous way. 1st - apply a heavy creme Leave-In conditioner by Redken. 2nd - apply a silicone product (Glass 01 by Redken). 3rd - You need a holding product and for this I used Redken Volume 06. You must apply all the product starting at the nape of the neck.
2) Next we want to create "the twist!". Divide the hair into 2 sections, separating the top from the bottom. Work with the bottom section first and roll and roll the twist upwards.
3) Then, switch to the top section of hair, using your fingers, create a claw and rake the top/front of the hair. This will give the hair texture and create a disheveled look, as we do not want it to look too perfect. Roll the twist downwards. So you now have two opposing twists - the top twist is rolled under (facing downwards) and the bottom twist is rolled up (facing upwards).
4) You now want to connect the top and bottom twists. Take hairpins (not bobby pins) and put them all in on the diagonal. You can add a little Redken Glass 01 to the top of the hair for added shine.
& you're done. Not too hard, right?
Nelson, himself, showing us how to create this look
I was super excited to see the show and who do I spot? ...
The gorgeous, Corrine Bailey Rae! Oh, if only she was singing...
Below are some of the gorgeous pieces from this collection.
Photo courtesy of Inspiration
Would you wear this hair and/or makeup look?


No comments:
Post a Comment